Slideshow - Mallard Cove Golf Course Hole By Hole
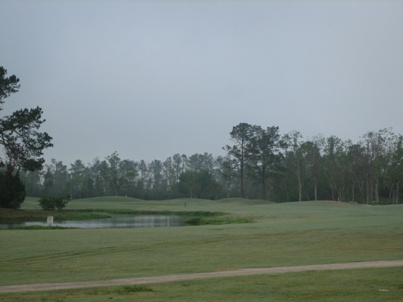
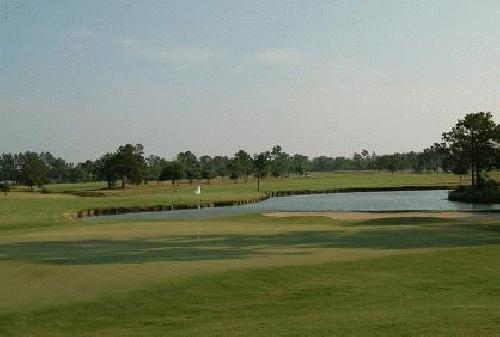
PAR 5
Yardage
Blue: 588
White: 526
Gold: 512
Red: 418
Handicaps
Men: 10
Ladies: 3
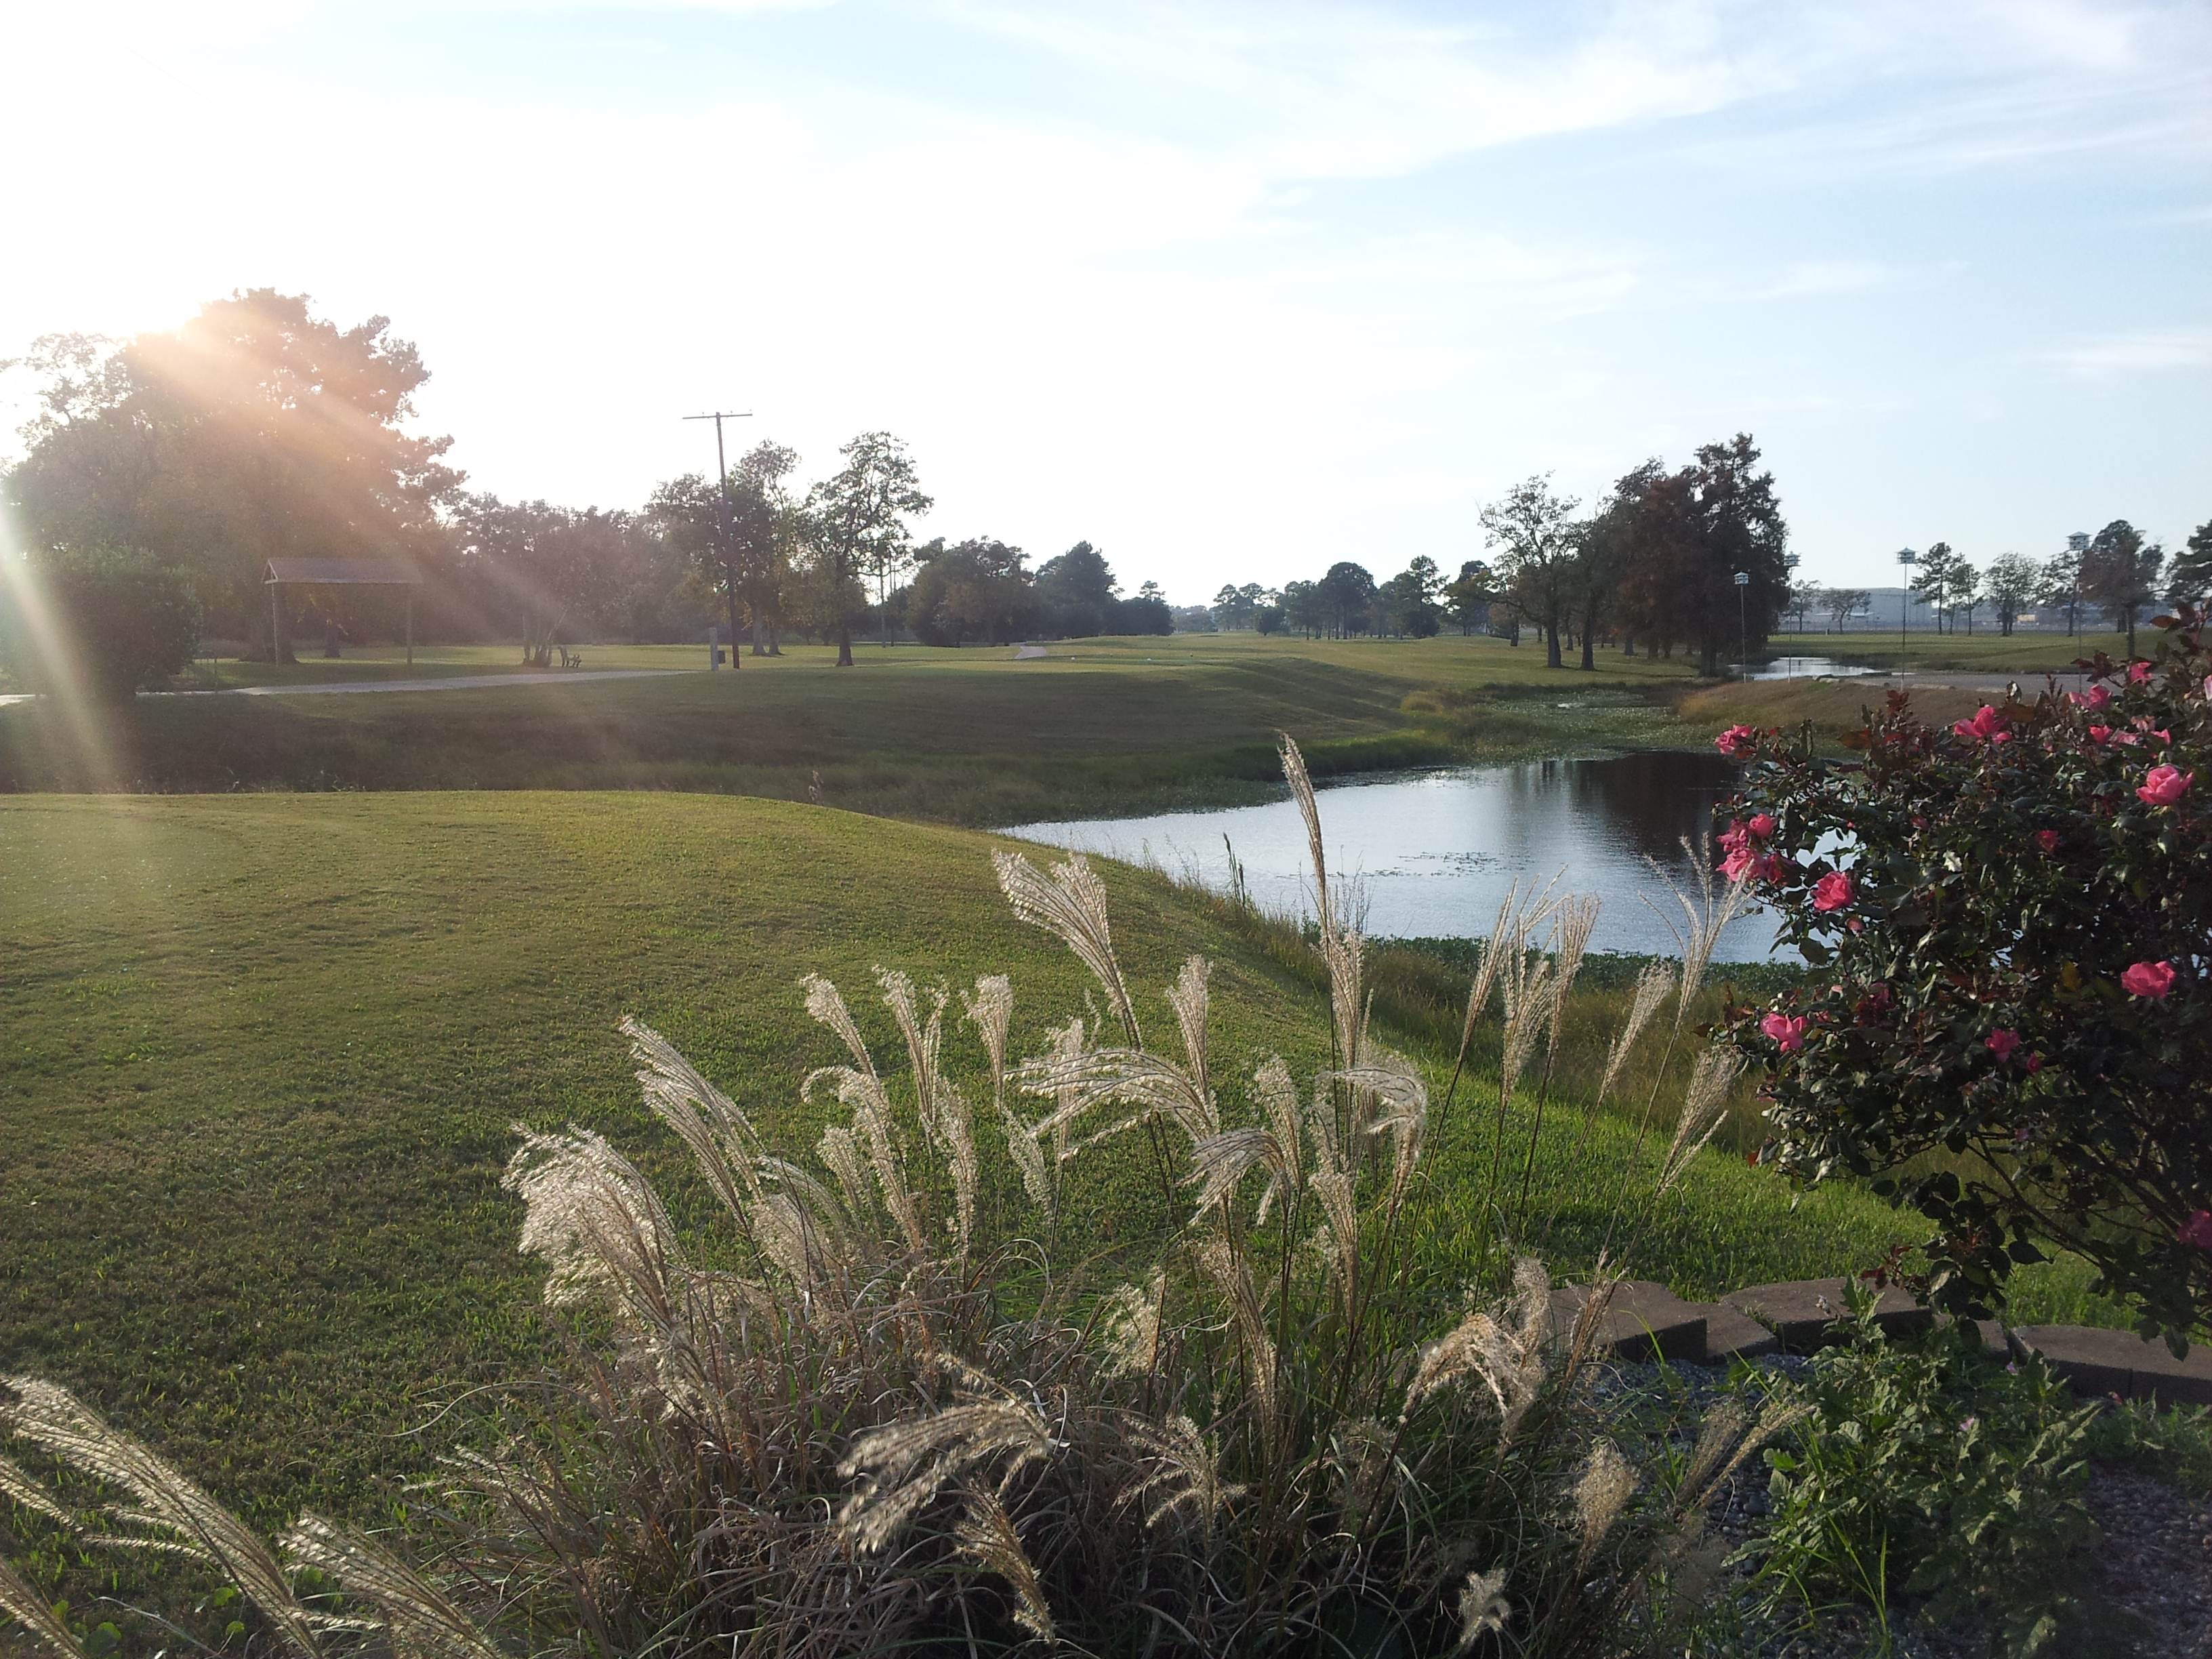
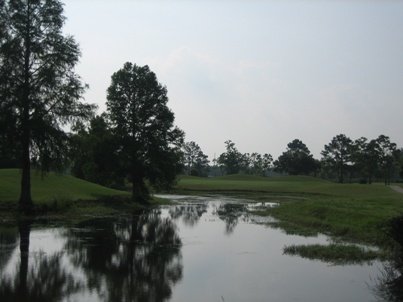
Number one features a couple of changes from the recent renovation project. It is still somewhat forgiving off the tee, so driver still should be the club of choice. The hole has been lengthened 20 - 25 yards so a long tee shot should still allow the possibility of reaching the green in two from the middle tees. Beware of the second shot for shorter hitters. The pond on the right side of the fairway has been lengthened 30 - 40 yards, forcing a shot into the layup area to be fairly accurate. The green is guarded by a single bunker in front center.
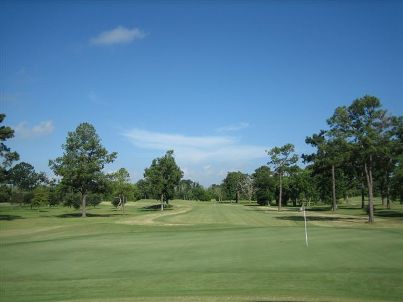
PAR 5
Yardage
Blue: 597
White: 548
Gold: 503
Red: 465
Handicaps
Men: 1
Ladies: 2
Many say, "This is where the golf course begins." Depending on the tees played, club selection off the tee will differ. Some elect to hit driver, but it takes two long shots to carry the hazard that runs anywhere from 80 to 130 yards in front of the green. A 3 wood or a long iron off the tee will leave a mid iron lay up for a second shot. Any approach shot right of the green makes for a tough up and down and a shot left of the green can find the hazard. The #1 handicap rating for this hole is undisputed. It gives up very few birdies and a big number can be made if you are not careful.
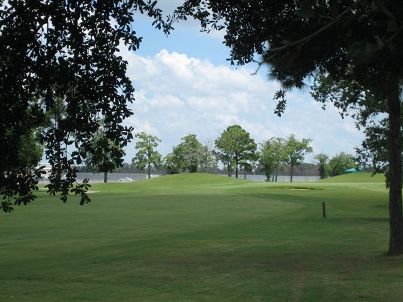
PAR 3
Yardage
Blue: 162
White: 137
Gold: 133
Red: 106
Handicaps
Men: 17
Ladies: 18
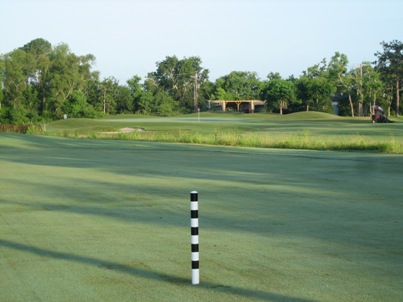
The recent renovation project has moved this green about 20 yards right of its old center point. The move brings water into play from all tee boxes. However, a short to mid iron should be all you need to hit a relatively large green protected by a bunker on the front right.
PAR 4
Yardage
Blue: 357
White: 347
Gold: 338
Red: 296
Handicaps
Men: 13
Ladies: 14
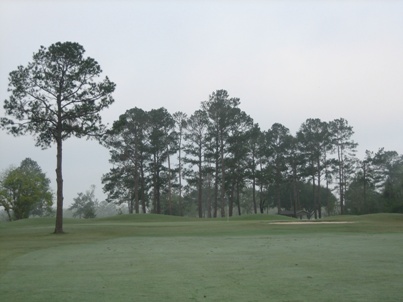
Leave the driver in the bag. From the middle tees, a 200 yard shot will leave a short iron for an approach shot on this reasonably short dog-leg left. This double-tiered green is protected by a pine tree on front right, and a large horseshoe shaped bunker on the left.
PAR 4
Yardage
Blue: 377
White: 364
Gold: 349
Red: 308
Handicaps
Men: 5
Ladies: 10
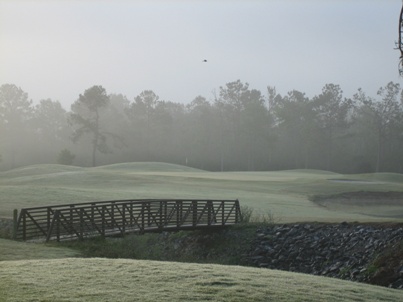
This hole is the beginning to Mallard Cove's version of Amen Corner. This sharp dog-leg left, around water, requires an accurate drive. To carry the water, a 230 - 240 tee shot is needed. But beware of the fairway pine trees which can knock a drive down and into the water. The safe tee shot is a long iron to the dog-leg, leaving a short to mid iron into a green protected on left front to middle by water. A back left pin really brings this hazard into play.
PAR 4
Yardage
Blue: 411
White: 396
Gold: 362
Red: 319
Handicaps
Men: 7
Ladies: 12
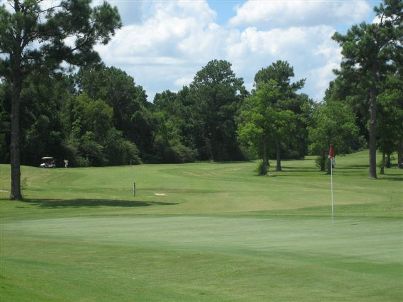
This is the second of three consecutive fairly tough par 4's. An accurate tee shot is required on this dog-leg right. A drive to the right side of this fairway brings new mounding into play. No more fairway bunker! Many take their chances and bail out far right into a rough area with plenty of bad lies. The longer hitter can hit a drive through the dog-leg resulting in bogey. Ideally, look to be about 150 yards out to a green with a top tier sweeping down into the bottom. Watch out for a front right bunker.
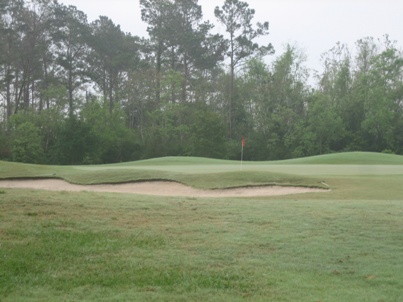
PAR 4
Yardage
Blue: 425
White: 412
Gold: 391
Red: 339
Handicaps
Men: 3
Ladies: 8
The final par 4 of the "Corner" demands a good tee shot. This dog-leg right is protected on both sides by trees. The left side is played as a hazard, but the right side can lead to an almost impossible shot to the green. A good straight drive to the dog-leg leaves a mid iron into a green protected by a front right bunker.
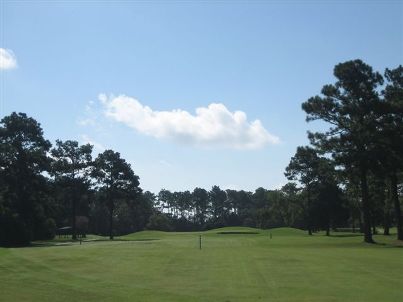
PAR 3
Yardage
Blue: 183
White: 166
Gold: 161
Red: 157
Handicaps
Men: 15
Ladies: 16
This par 3 seems fairly tame, but looks can be deceiving. Shooting for a pin on the left side can bring water and sand into play. Any shot on the left or right aprons of the green side mounding can kick the ball into trouble. Birdie is great, but par is your friend.
PAR 4
Yardage
Blue: 429
White: 382
Gold: 367
Red: 335
Handicaps
Men: 9
Ladies: 6
To birdie this straight away par 4, the tee shot needs to be on the correct side of the fairway in relation to the pin placement. Teh clover leaf shaped green is protected on the front left by a large pine tree and front right by the bunker, making for very tough pin placements. A solid drive leaves a short to mid iron approach shot.
PAR 5
Yardage
Blue: 554
White: 522
Gold: 468
Red: 408
Handicaps
Men: 11
Ladies: 4
A great finishing hole before, is now even greater. Risk/reward is the best way to describe this hole. From the middle tees, the safest drive is down "Shine's Alley," or left of the horseshoe shaped fairway pond. Playing a tee shot down the peninsula will shorten the hole, but brings 3 fairway bunkers into play. Playing to the lay up area should be considered. The longer hitters can risk going over the right side of the pond and eliminate the bunkers, leaving a short to mid iron. The green is protected by two front left bunkers and water, and any shot right could bring trees (played as a hazard) into play. This hole has been a heartbreaker for many tournament leaders.
PAR 4
Yardage
Blue: 399
White: 368
Gold: 345
Red: 290
Handicaps
Men: 6
Ladies: 7
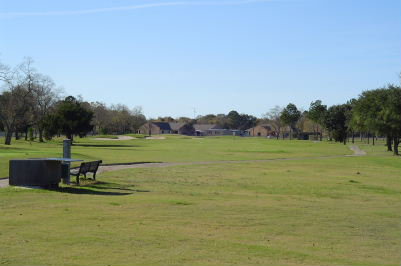
The key to success on this par 4 is a straight tee shot. The mound in the landing area tends to exaggerate a slightly off line tee shot. A hooked tee shot could find a hazard running the length of the hole. A 250 yard tee shot will leave a short iron or wedge into a green sloping slightly from back to front.
PAR 4
Yardage
Blue: 372
White: 345
Gold: 326
Red: 264
Handicaps
Men: 14
Ladies: 9
Although this hole is the #14 Handicap hole on the course, it can present problems. Beware of the enlarged fairway bunker on the left side of the landing area. A straight tee ball should leave a short iron into a green protected heavily by a large bunker running from front center to the right side. Birdie is very possible, but a par is good.

PAR 3
Yardage
Blue: 200
White: 184
Gold: 165
Red: 133
Handicaps
Men: 16
Ladies: 17
A pretty straightforward par 3. What you see is what you get. The largest green on the course (8320 sq. ft) is protected by bunkers front left and right. Center of the green is good. The size of this green can lead to many 3 putts.
PAR 3
Yardage
Blue: 169
White: 153
Gold: 137
Red: 104
Handicaps
Men: 18
Ladies: 15
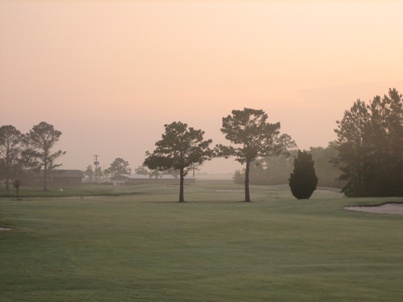
This par 3 has become one of the most scenic holes on the course. The widening of the pond on the left of the green now requires 130 - 150 yard carry from any tee on the new north tee box. Tee shots from the red and gold boxes can run up to the green, but be careful.
PAR 5
Yardage
Blue: 497
White: 473
Gold: 455
Red: 411
Handicaps
Men: 8
Ladies: 1
This hole gives up a lot of birdies, some eagles, but also many double bogies. From the tee box be careful of the new "fairway" bunker, the largest on the course. A 210-250 yard drive pushed right of landing area can leave a 150 yard sand shot to the lay up area. A long drive in the fairway can lead to a second shot into this 3 tiered green protected by a bunker in front. An errant shot can easily lead to bogey or higher.
PAR 4
Yardage
Blue: 426
White: 403
Gold: 381
Red: 300
Handicaps
Men: 4
Ladies: 11
This par 4 is a good finishing hole for the front side. The longer hitter can usually carry the mound in the fairway which will add distance to the drive and leave a short iron to the green. With OB left and a predominant wind from the right (south), be careful and play the drive down the right side. This two-tiered green is guarded by two bunkers on the right.